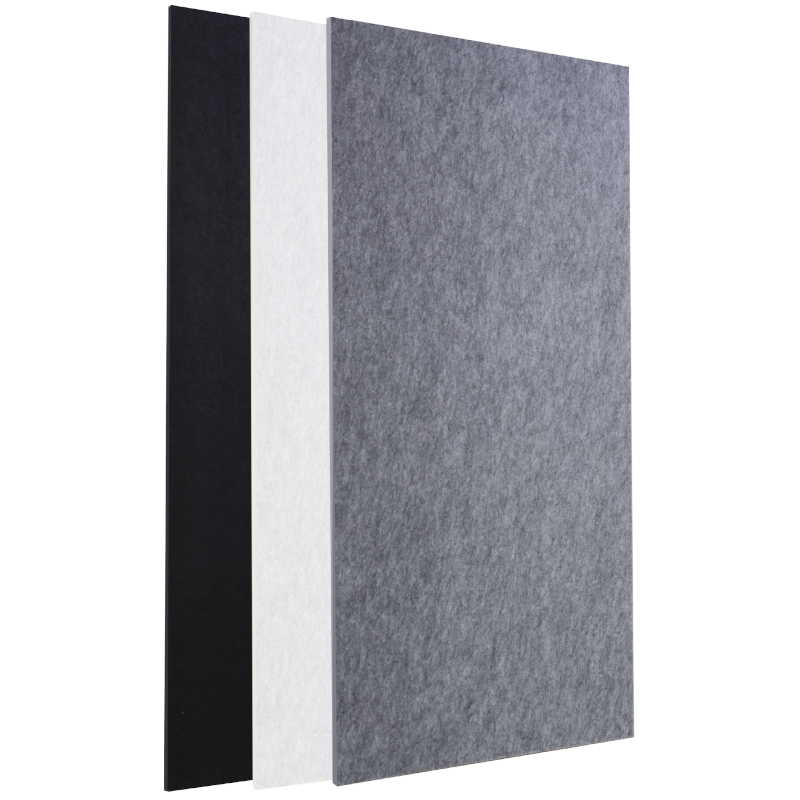
- ATS Acoustic Panels
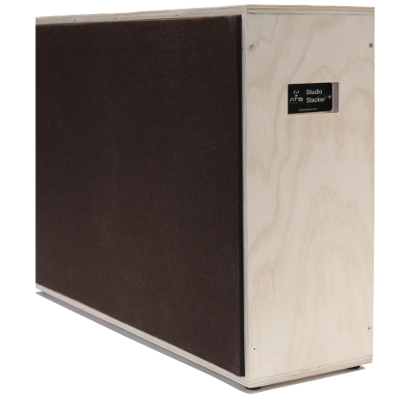
- ATS Bass Traps & Stackers
- ATS Acoustic Baffles
- ATS Acoustic Diffusers
- ATS Acoustic Room Kits
- Custom Acoustic Panels
- ATS Acoustic Art Panels
- Materials & Supplies
- Clearance Items
- Get a Quote
- Business Accounts
- Design & Installation
- Architects & Contractors
- Application Information
- Color Chart
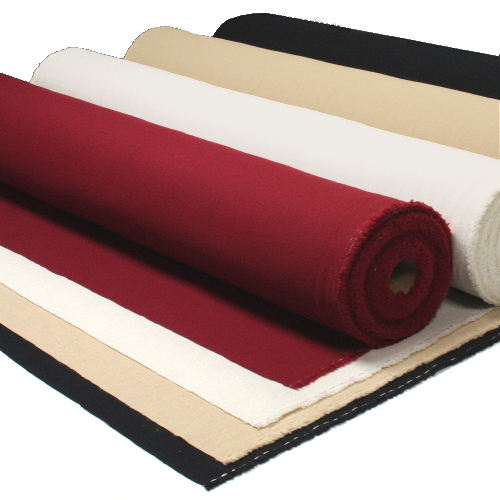
- Swatches & Samples
- FAQ's
Product Categories
Help & Information

ATS Acoustics Custom-Size Acoustic Panel Installation Guides
Follow these guides to determine the appropriate number and placement of installation hardware mounting points for custom-size ATS Acoustic panels.
For Standard Panels - Wood Backs
WARNING: Never use Z-Clips or Z-Bars to install panels on ceilings including angled ceilings or walls that lean into the room.
WARNING: When securing hardware to drywall walls, use appropriate dyrwall anchors and/or secure fasteners into studs. Screws into drywall alone do not have sufficient holding strength.
Custom-Size Panels Z-Clips and Z-Bars Guide
- Use the above guide to determine the number of mounting points, and placement of the Z-Clips or Z-Bars on the size of panel you are working with.
- Attach Z-Clips or Z-Bars to the back of the panel using the black screws. The textured side of the clip should be against the panel and the protruding half should be pointed down.
- Based on the desired position of the panel on the wall, measure and mark the positions of the Z-Clips or Z-Bars on the wall. Each z-clip should be aligned with the hardware on the panels, except the top of the clip on the wall should be 1.25 inches lower (farther from the top of the panel) than the top of the clip on the panel. Attach Z-Clips or Z-Bars to the wall using the silver pan head screws (and blue anchors if necessary). The textured side of the clip should be against the wall and the protruding half should be pointed up.
- In Drywall: Using a 3/16” drill bit, drill a hole at each screw location. Insert a plastic anchor in each hole. Use a hammer to gently drive the anchor flush with the wall surface. If you hit a stud at the screw location, the plastic anchor will not be necessary. Once the anchors are in place, use the drywall screws to attach the Z-Clips to the wall.
- In Concrete: Follow the instructions for drywall, but use a 3/16” masonry drill bit.
- In Wood: Do not use plastic anchors. Simply attach Z-Clips with silver pan head screws.
- Place the panel flat against the wall and slide down to engage the clips.The panel should be held snugly against the wall by the clips. Slide the panels a small distance if needed to achieve the correct alignment. If installed correctly the panel should fit snugly against the wall and not be free to slide or lift easily. This helps prevent the panel from accidentally falling due to vibrations, earthquake, etc.
For Hardened-Edge Panels - Fiberglass Backs
Custom-Size Panels Impaling Clips and Rotofast Guide
WARNING: Do not use this guide to install 4-inch thick hardened-edge panels on the ceiling. We do not recommended installing 4-inch thick hardened-edge panels on ceilings, or on walls that lean into the room.
WARNING: Never use impaling clips for ceiling installation.
WARNING: Never use impaling clips alone to install panels. Constructive adhesive must be used in conjuction with impaling clips for adequate support.
WARNING: When securing hardware to drywall ceilings, drywall anchors are not appropriate as they can easily pull out. Ceiling fasteners must be secured into ceiling joists or other structural members.
WARNING: When securing hardware to drywall walls, use appropriate dyrwall anchors and/or anchor fasteners into studs. Screws into drywall alone do not have sufficient holding strength.
If your panels came with Z-Clips or Z-Bars already attached to the back, you don't need to lookup number of mounting points or clip placement. Use the instructions for Z-Clips and Z-Bars above, starting with Step 3.
Otherwise, use the above guide to determine the number of mounting points, and placement of the impaling clips or Rotofast fasteners on the size of panel you are working with.
If using impaling clips, refer to this guide for installation steps.
If using Rotofast Standard anchors, refer to this guide for installation steps.
If using Rotofast Snap-On anchors, refer to this guide for installation steps.
If using Rotofast Cloud enchors, refer to this guide for installation steps.
Why ATS?
- Highly effective designs.
- Factory-direct savings.
- Used in 50,000+ buildings.
- Always friendly service.
- We manufacture in the US.
- Most items ship free*