
Is this your first time hanging an ATS Acoustics wall panel? With a little planning and our enclosed template, the task of installing panels doesn’t have to be daunting This post is a step by step guide on hanging a standard acoustic panel (square/rectangular shape with a wood frame and lauan backing).
Preface: About Z-Clips
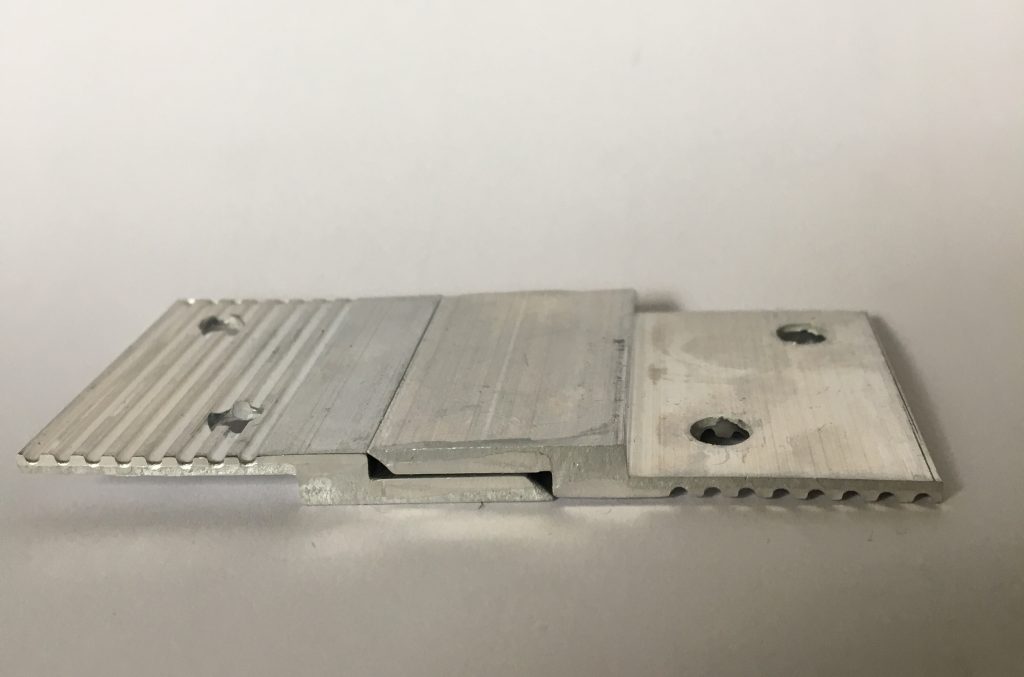
Standard acoustic panels come with metal hardware called z-clips (named this way because of the shape). Standard ATS 24”x24” square panels require 2 mounting points, whereas Standard ATS rectangular panels require 4 mounting points. Z-clips work in pairs: one for the panel, and one for the wall. Refer to the diagram below to see how they fit together. If you need help visualizing, try putting them together like the diagram below before screwing them into the panel or wall.
Step 1: Attaching Clips to the Panel
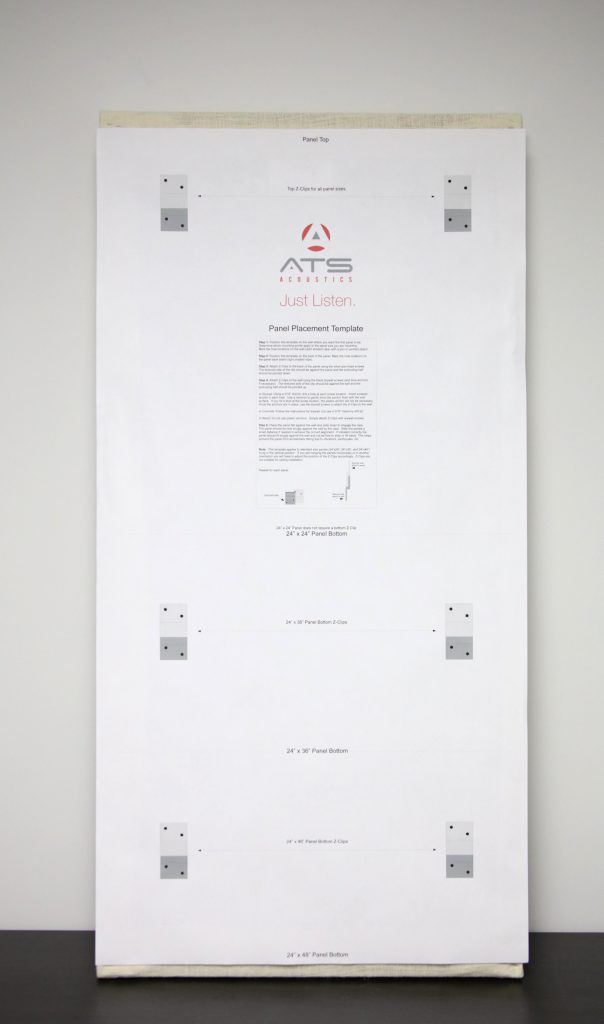
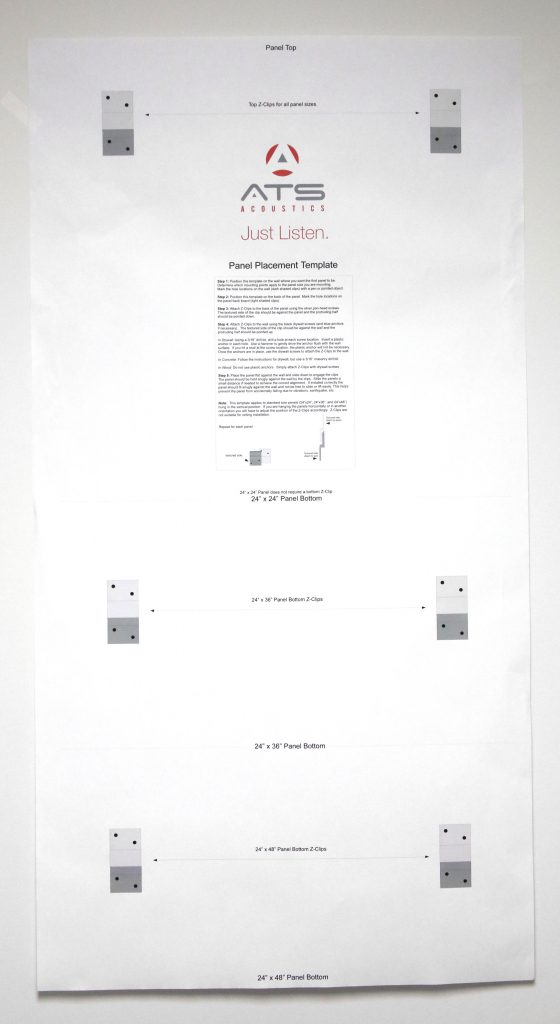
- Before you screw the clips to the panel, you should mark where the clips go. Our enclosed template, and picture below, will show where your clips can be placed to ensure that your panel will be secure. If you have a custom-sized panel, you may need to adjust the measurements. Be sure that you have the correct orientation of the clips. On the panel, the holes of all clips should be on the top.
- Use two (2) #6 wood screws for each clip and drill them into the back of the panel. These are the screws with the flat heads.

Step 2: Attaching Clips to the Wall
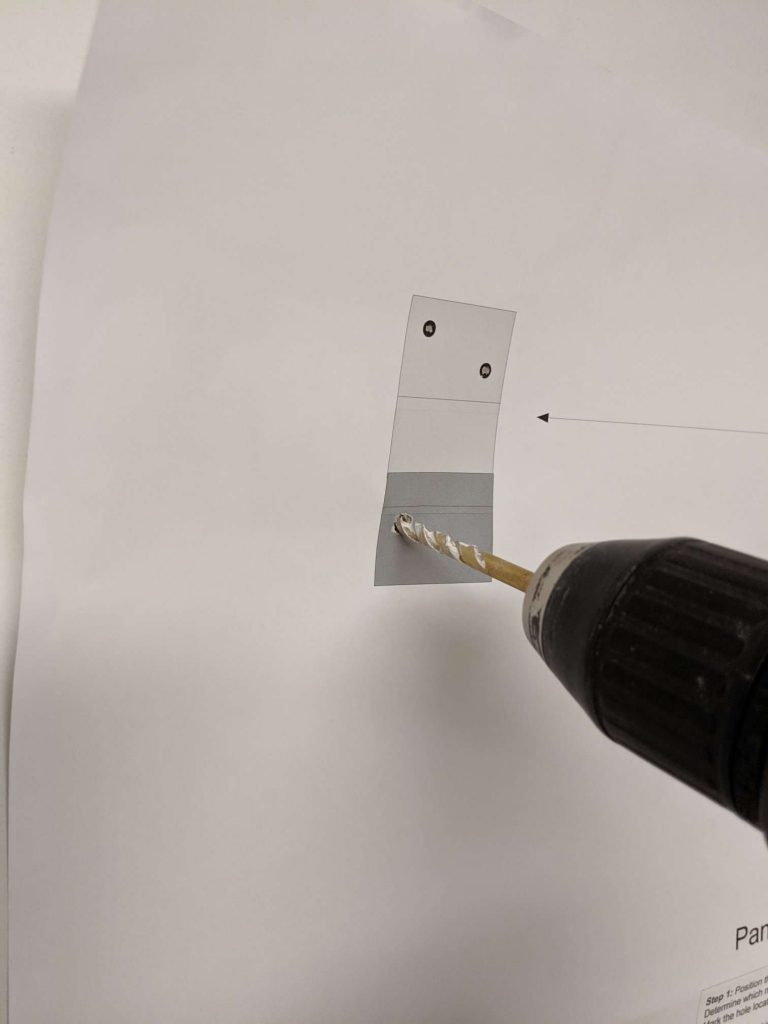
- Before you screw the clips into the wall, be sure to measure where you want the clips to go. Think about where the edges of the panel will be on the wall, plus the measurement that you will need to line it up with the clip on the back of the panel. The enclosed template, and picture below, will help guide you. Again, if you have a custom-sized panel, be sure to adjust the measurements as needed. Be sure that you have the correct orientation of the clips. On the wall, the holes of all the clips should be on the bottom. Tip: draw with a pencil where the screws for each clip will go on the wall before you start drilling.
- For Drywall: Use a 3/16” drill bit to drill holes in the wall for where the clips will be placed. Insert a plastic anchor into each hole and gently use a hammer to drive the anchor flush with the wall.
- For Concrete Walls: Follow the instructions for drywall, but use a 3/16” masonry drill bit, instead.
- For Wood Walls: Do not use the plastic anchors. Drill a small pilot hole at each screw location.
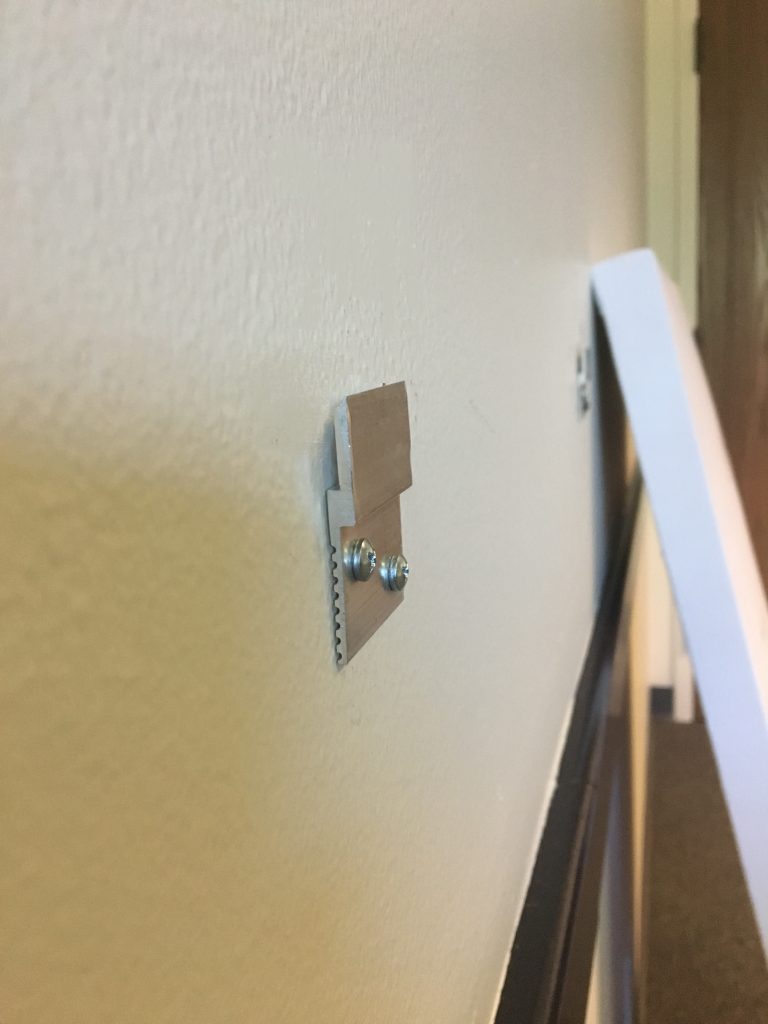
- Once the anchors are in, you can now screw clips to the wall using two (2) #8 pan head screws. These are the screws with the round head.
Step 3: Mounting the Panel
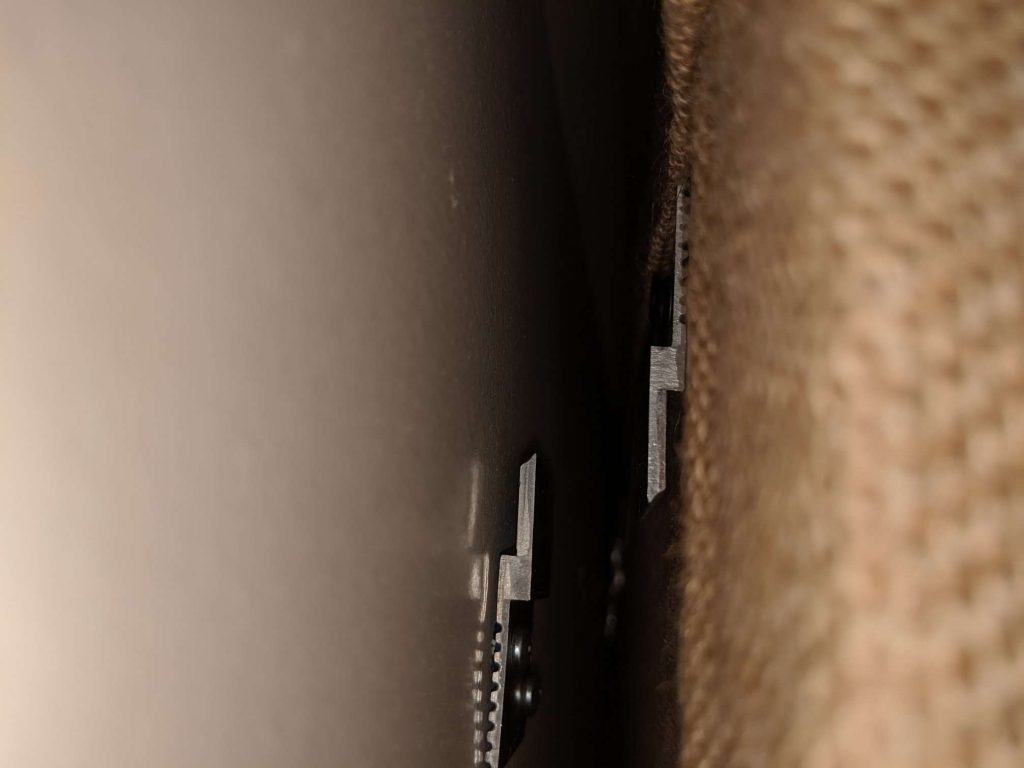
- Place the panel against the wall and slide it down to hook the clips together.
- The panel should sit flat against the wall without hanging forward
- If your measurements led you to a slanted panel, the clips allow for some movement to adjust the level.
If you choose to put your acoustic panel in a corner, ATS Acoustics provides specific corner hardware that will allow for easy installation.
For DIY acoustic panels made from rigid fiberglass board such as Owens Corning 703 or ATS Acoustics Fiberglass Board, check out our Rotofast Snap-On Anchors and/or the impaling clips for even easier installation.