At ATS Acoustics, we deliver all of our panels with the hardware that you will need for mounting. Our included Installation Template is easy to follow and will help you hang your panels quickly and safely. However, if you have decided to make your own acoustic panels, you want to be sure that you purchase the correct mounting hardware for your type of panel and know how the hardware works. At ATS Acoustics, we have many kinds of hardware needed for your DIY project.
Z-clips and Z-Bars (Standard ATS Panels)
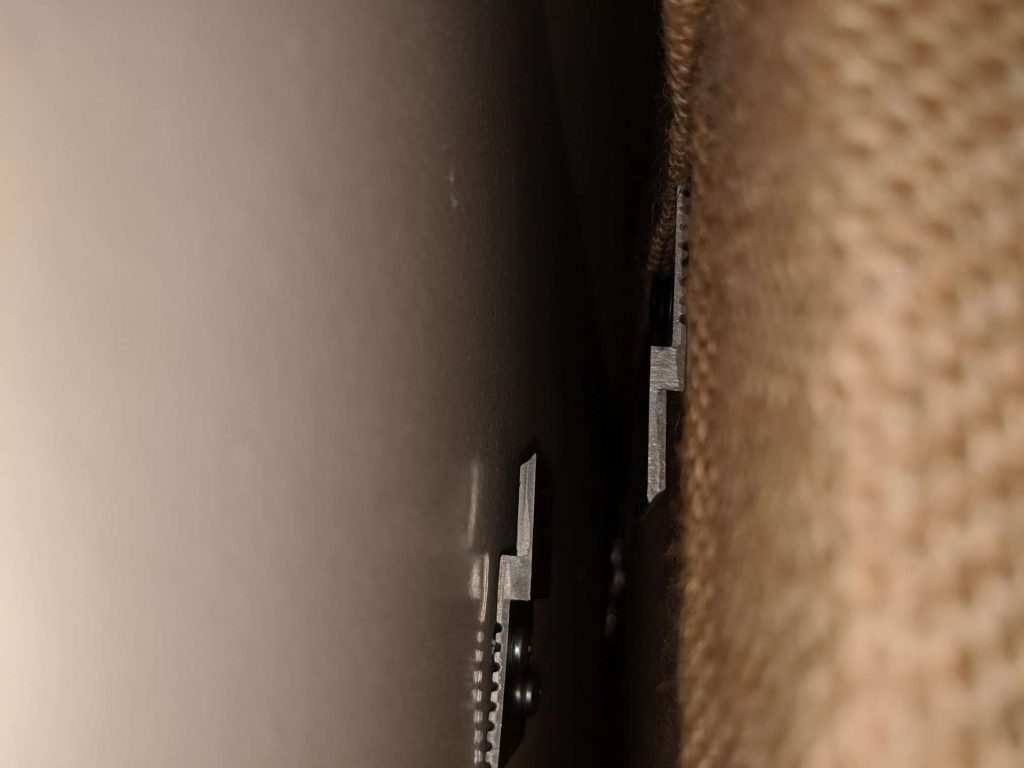
Standard acoustic panels come with metal hardware called z-clips (named this way because of the shape). Standard ATS 24”x24” square panels require 2 mounting points, whereas Standard ATS rectangular panels require 4 mounting points. Z-clips work in pairs: one for the panel, and one for the wall. For larger and/or heavier panels, we recommend using Z-bars. These 18” pieces of hardware are shaped the exact same as Z-clips, only longer. These types of hardware are good for drywall, concrete, or wood.
To install these, you simply drill the clips/bars onto the back of the panel where our template indicates (or measure stable mounting points for DIY/Custom panels). Then, you drill clips into the wall with the same alignment and measurements as the clips on the back of the panel. Once these clips are in place, you are ready to hang your acoustic panel!
Additionally, if you want to hang your panel in a corner, we have a corner installation kit with angled clips for a seamless finish in your panel mounting. These angled clips are installed on the back of the panel, flushed with the edge of the panel. After the angled clips are secured on the back of the panel, you will use a regular z-clip for the corresponding placement on the wall. The angled clip and the z-clip will then interlock with each other for a secure placement on the wall.

Cloud Installation Hardware (Not for Rigid Fiberglass Board)
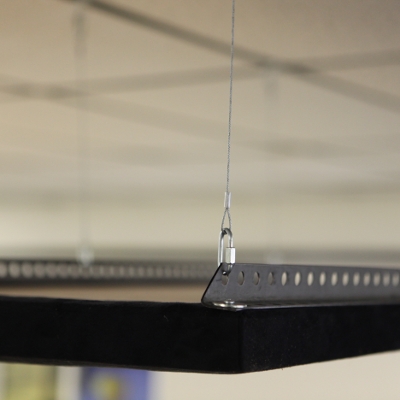
Clouds are panels that are suspended from the ceiling using wires. These types of panels have angle iron runners attached on the back that are the same length as the panel. Additionally, each panel will use screws, washers, quick links, anchors, and toggle clips. These hardware pieces will enable your acoustic panel to hang between 2”-3” off of the ceiling. At ATS, you have the additional option to suspend your Acoustic Panel with 6” or 12” steel suspension cables for more length.
To install this, attach an iron runner to the back of your panel using the screws and washers. The quick links are then able to go through the holes of the iron runner. Then, drill the holes in the ceiling where you want the panel to be hung and insert the toggle clip that is fastened onto the end of the eye bolt. Once the toggle clip is inserted in the ceiling hole, slightly hold down as you screw them in place so that the wings hold onto the ceiling as you adjust the height on the eye bolt. Finally, take the metal wire and loop it through the eye bolt and quick link.
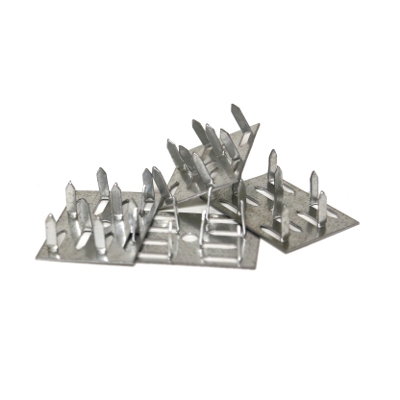
Impaling Clips (For Rigid Fiberglass Board and Hardened Edge Panels)
Our acoustical impaling clips are used for panels without our usual wood frame and backing, such as hardened-edge panels and panels made from rigid fiberglass board. This hardware is easy to use. For installation, screw the impaling into the wall and simply press the rigid fiberglass board or hardened edge panel directly onto the pointed spikes. To ensure that the panel is secure, we recommend using construction adhesive on the spikes of the clip, such as Liquid Nails. These type of impaling hardware can also come angled, for hanging a panel directly in a corner. The directions for corner impaling clips are the same as normal impaling clips.
Rotofast (For Rigid Fiberglass Board and Hardened Edge Panels)
Rotofast Anchors are used for panels that are made using rigid fiberglass board, such as Owen Corning 703, 705, and Roxul rockboard 60. There any many kinds of Rotofast anchors that can be used on different types of panels.
- Rotofast Snap on Anchors
- To install the Rotofast Snap-On Anchors, screw the Anchors clockwise into the back of the rigid fiberglass board panel using the Rotofast Driver tool. Once the anchor is flush with the back of the panel, insert the marking plug into the center of each anchor. Push the panel against the wall in the placement that you desire, thus marking the anchor locations. Finally, screw the ratchets into the wall then firmly push the panel onto the ratchets for complete installation.

- Rotofast Standard Anchors
- To install the Rotofast Standard Anchors, mark the spots where you would like to place the anchors. Take the Scratch Awl and poke holes through the front face of the panel and out through the back. Then take the panel and line it up on the wall where you want to hang it. Taking the Scratch Awul, poke through the face of the panel where you previously made holes so that the scratch awl makes indentations on the wall. Then insert your EZanchors into the wall at your marked locations. Attach the Rotofast anchor onto the wall using the screws so that it is steady, but still able to spin freely. Once compete, flip the metal insert into the center of each anchor. Line the panel with the marks on the wall and use the installation tool to engage with the center insert through the face of the panel. Turn counter clockwise so that the anchor carves into the core material. Once the panel is hung, move the weave of the fabric to cover the holes from installation.

- Rotofast Cloud Anchors / Rotofast Extended Cloud Anchors
- To install Rotofast Cloud Anchors, turn the anchors clockwise until they are flush with the back of the panel. Once installed, attach your choice of hanging hardware, such as chain or cable. For thicker or heavier panels, we suggest the Rotofast Extended Cloud Anchors for added strength.

